Book A Cycling Tour
Share on Twitter Share on Facebook Share on Google Plus Share on LinkedIn Share on Email
How to pack a bike into a bike box – Polaris Bike Pod Pro

Cycling Blog

How to pack a bike into a bike box – Polaris Bike Pod Pro

Tweet This
Share This
Bike box blog

April 18th, 2014

How to pack a bike box

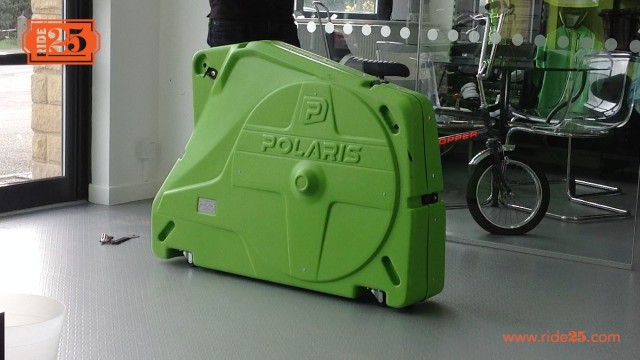
We’ve put together a simple guide to disassembling your bike and packing it into a bike box. In this case, we’ve used a Polaris Bike Pod Pro, which can be hired from us if you are joining us on one of our Ride25 legs, or can be bought or hired directly from Polaris Bikewear.

When flying, we highly recommend that you use a sturdy bike box rather than a bike bag as it gives far greater protection for your treasured possession whilst in transit, helping to ensure that it arrives safe and sound at your destination.

Make sure you check out our ‘TOP TIPS’ for each step of the way – there are some invaluable pieces of advice here that will make the whole process a lot easier!

You can print out these instructions here


Watch the  “How To” Pack your bike into a bike box video that accompanies this blog here: 
or in the gallery here:
video gallery


First things first, you’ll need…

  • A multi-tool set of Allen keys
  • An 15mm spanner
  • A bike box – we’ve used a Polaris Bike Pod Pro
  • A bike (!)

Step 1: Remove your bike pedals

Bike Box - Spanner

Use a 15mm spanner or an 8mm Allen key to remove your pedals.

TOP TIP: When removing pedals, always turn the spanner or Allen key towards the back of the frame (i.e. anti-clockwise)

———————————————————————————-

Step 2: Open up the bike box, so it’s ready for packing

Bike Box - open box

Remove the handle and release the latches, allowing the bike box to open fully.

Inside the box, there will be a few items such as the wheel protectors, the tie wraps, instructions and the protective foam. Place these to one side as you will need them later.

———————————————————————————-

Step 3: Remove the bike wheels

Bike box - remove wheels

Remove your back wheel and then move onto your front wheel by loosening the wheel nut.

Top Tip: Put your gears into the highest gear so it allows for easy release of the wheel.

———————————————————————————-

Step 4: Remove the handlebars

bike box  - remove handlebars

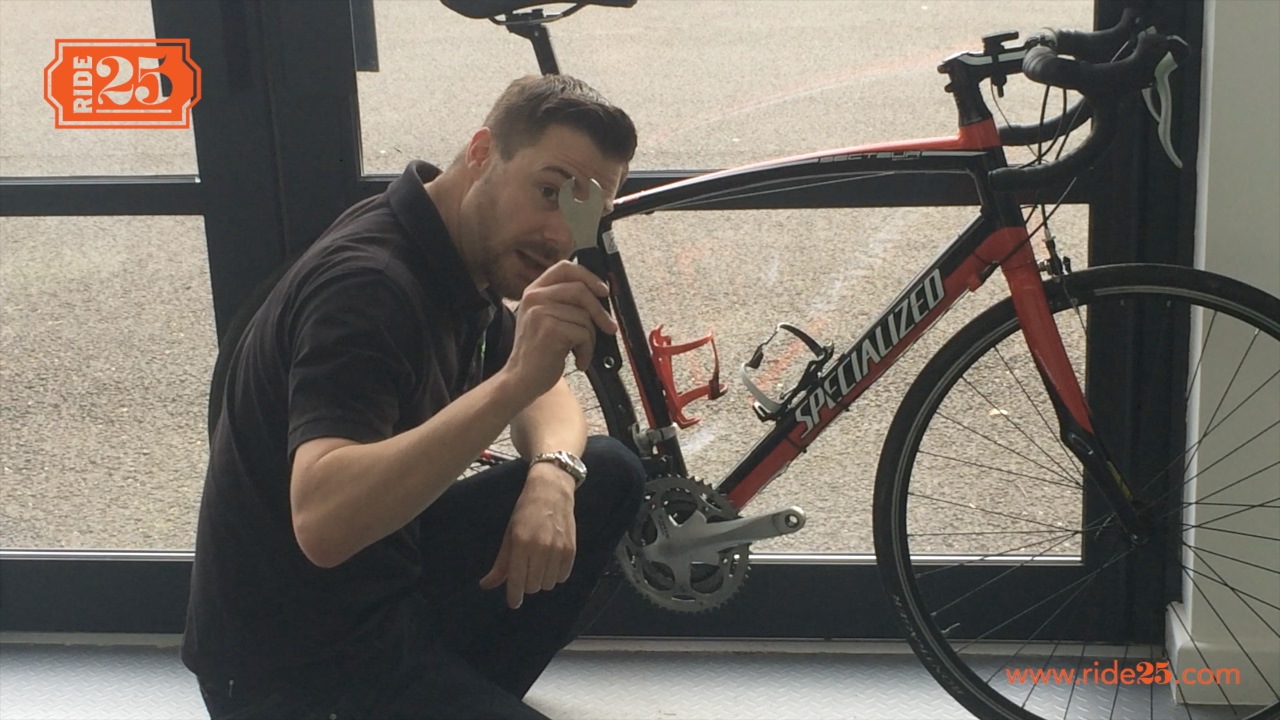
Using your multi-tool set of Allen Keys, find the appropriate key to unlock your handlebars and release them from the stem.

Once the handlebars are detached, let them go forward (leaving the cables in tact – there is no need to detach them).

Then loosely re-attach the front of the stem back on to the bike so that nothing is lost.

TOP TIP: When removing the handlebars from the stem, you don’t need to detach any of the cables – this isn’t necessary!

———————————————————————————-

Step 5: Pack your wheels into the bike box

bike box - wheel spacer

Front wheel:

  • Firstly, grab your front wheel and remove the skewers, placing the skewers in a bag (so you know where they are when you come to put them back on!)
  • Get a spacer and place it on the wheel
  • Grab 4 tie wraps and place them into the cradles on the inside of the Pod
  • Lay the wheel into position in the Pod (with the cassette facing outwards)
  • Tighten the tie wraps to secure the wheel in place

Rear wheel:

  • Grab your rear wheel, and remove the skewers, placing them in the bag
  • Get a spacer and place it on the wheel
  • Grab 4 tie wraps and place them into the cradles on the inside of the Pod
  • Lay the wheel into position in the Pod (with the cassette facing outwards)
  • Tighten the tie wraps to secure the wheel in place

———————————————————————————-

Step 6: Fit the foam on top of the wheels

Bike box - fit foam

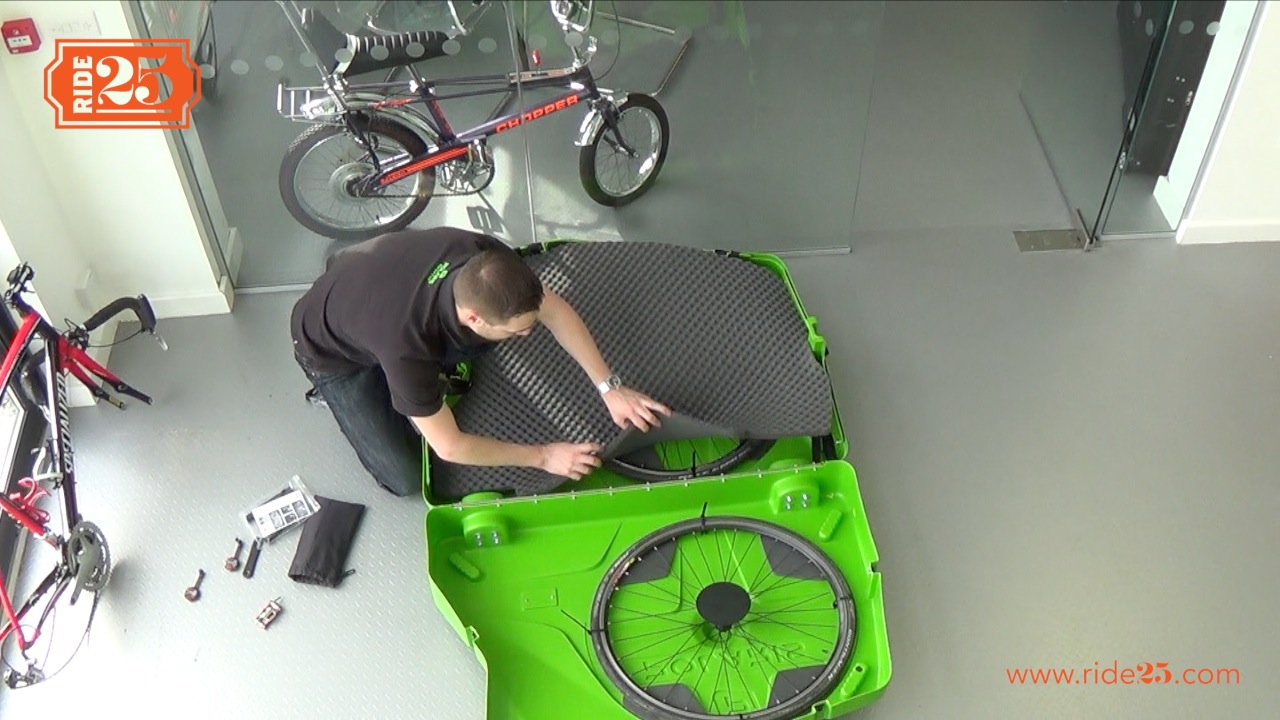
Fit the foam on top of the wheels, with the smooth side of the foam facing the wheels.
Make sure the foam is underneath the frame-holding straps as you will need these later on.

———————————————————————————-

Step 7: Remove the seat post/saddle

Bike box - remove saddle

Grab your Allen Key again and remove the seat post

TOP TIP: Always put a marker (with a permanent marker or similar) on the seat post so that you make sure, when you put your bike back together, that you have the correct saddle height.

———————————————————————————-

Step 8: Pack the frame and saddle into the bike box

Bike box - frame and saddle

Fit the frame into the box first, and then adjust the handlebars so that they tuck in between the top tube and the fork

In some cases, where the bike frame is on the larger side, the gear hanger needs to be removed. To do this, taken an Allen Key, remove the gear hanger and tuck it in under the frame.

Place the spacers around the frame to stop any impact from the side of the bike box.

Use the frame straps to hold the frame in place

Finally, place your saddle in a space somewhere in between your frame.

———————————————————————————-

Step 9: Close the bike box, lock if required, and attach the handle

Bike box - close and lock

Line up all the clips, and close them.

Finally, attach the handle

———————————————————————————-

Some final top tips…

  • Don’t lock your bike box when you are travelling to the USA as they like to check inside every bike box.
  • Always remove the handle from the bike box before you check it in as luggage, as baggage handlers tend to lose them
  • Take a spare derailleur hanger as these often get broken in transit

Also, watch our blog for another article very soon on how to put your bike back together!

You can print out these instructions here


One Response to “How to pack a bike into a bike box – Polaris Bike Pod Pro”

  1. Pat Says:

    Some airlines also need the tyres deflated so you need to remember to take a decent bike pump too

Leave a Reply

Sign Up For Updates

* indicates required