


In one of our previous blogs and videos we’ve explained how to pack your bike into a bike box (see here for blog and here for the video) – so we thought we ought to show you how to unpack and rebuild your bike once you’ve arrived at the destination! It’s actually easier than you might think and we have created printed instructions and a video to go with it to make it even simpler.
In this instance, we have used a Polaris Bike Pod Pro – with thanks to our friends at Polaris Bikewear. We highly recommend these bike boxes as they keep your prize possession safe and secure. If you wish, you can hire or buy one from us – just select the option when you book your Ride25 tour!
Simply release all the latches (and remove the handle if you have one on there) and open the box carefully.
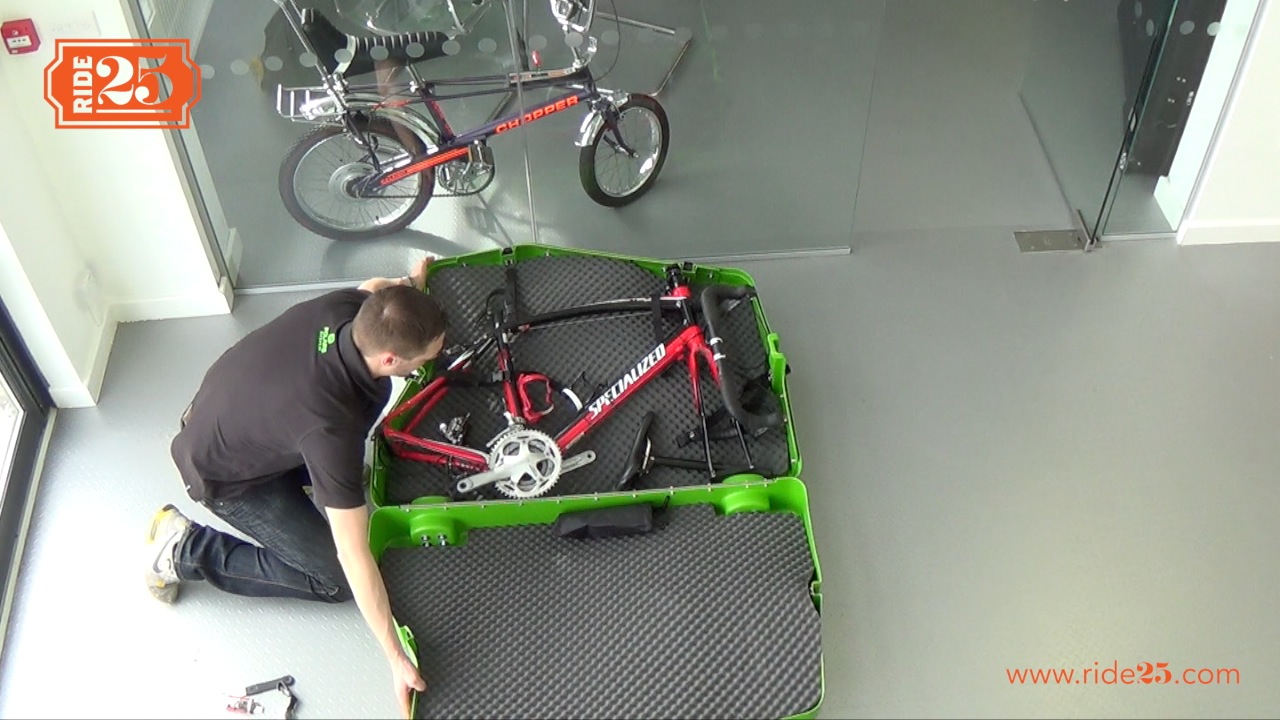
Secondly, remove the clips that are holding the frame in place.
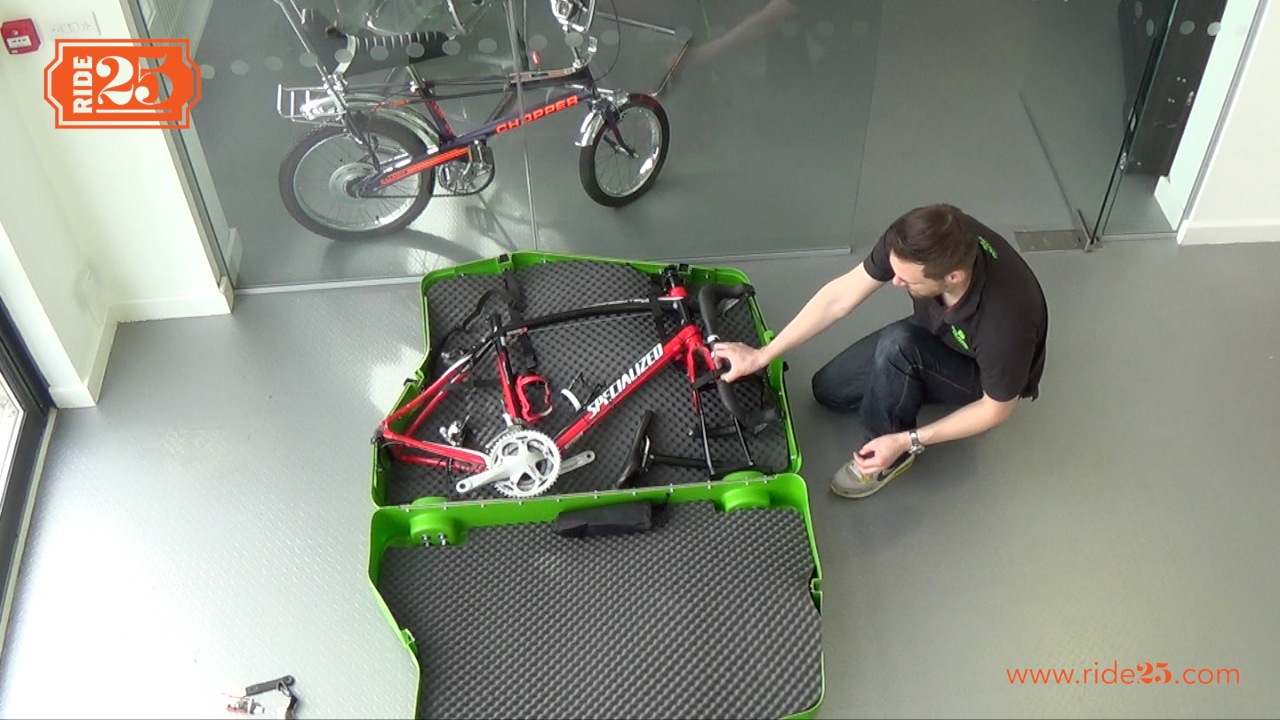
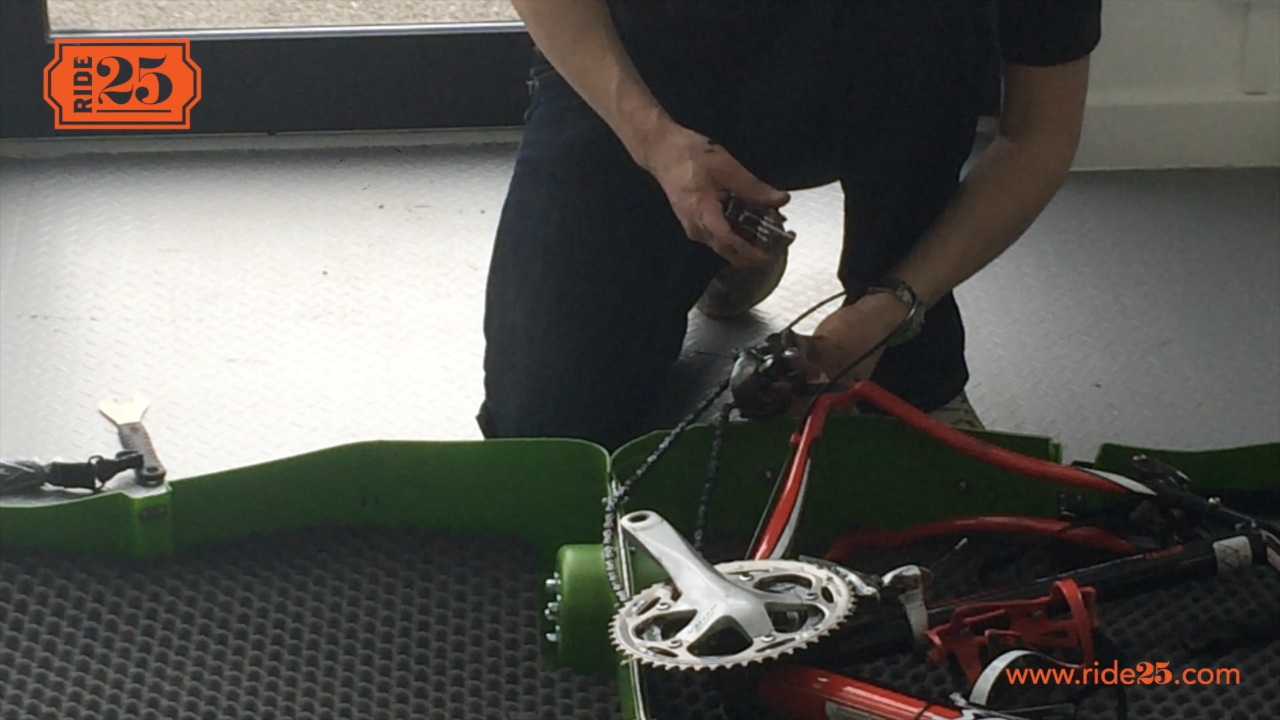
Remove the spacer and while the bike frame is still in the box, get your Allen Key and reattach the rear derailleur. Make sure it is tight and secure.
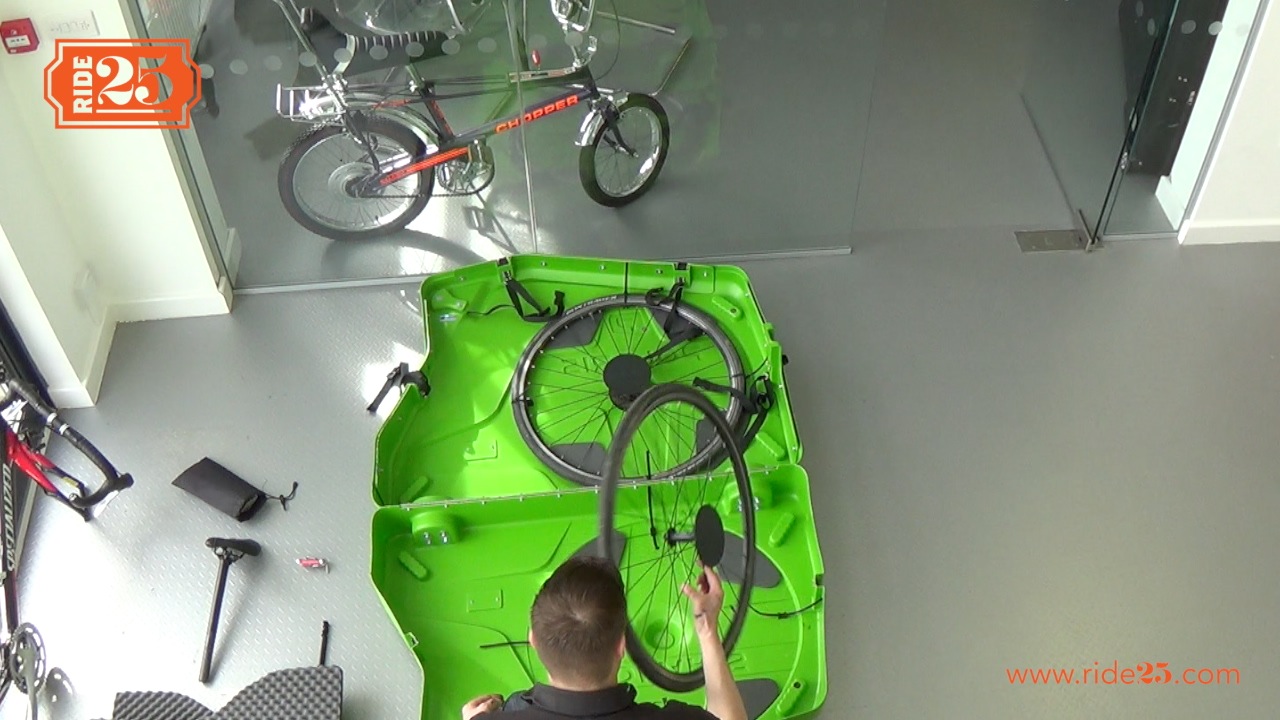
Remove the seat post, bike frame and parts bag and put to one side. To remove the wheels, take out the foam and undo the re-usable tie wraps. Remove the wheel covers.
Take out the instructions, skewers and the pedals from the parts bag. Put the spacer kit, the rear wheel spacer and the front spacer back in the bag and reattach the bag inside the bike box.
Simply place the foam back in the box, close the box, making sure all the straps are inside, and put it to one side, ready to rebuild your bike.
Firstly, unscrew the front of the stem (which you should be able to do by hand as it shouldn’t be screwed on too tightly from when you removed it).
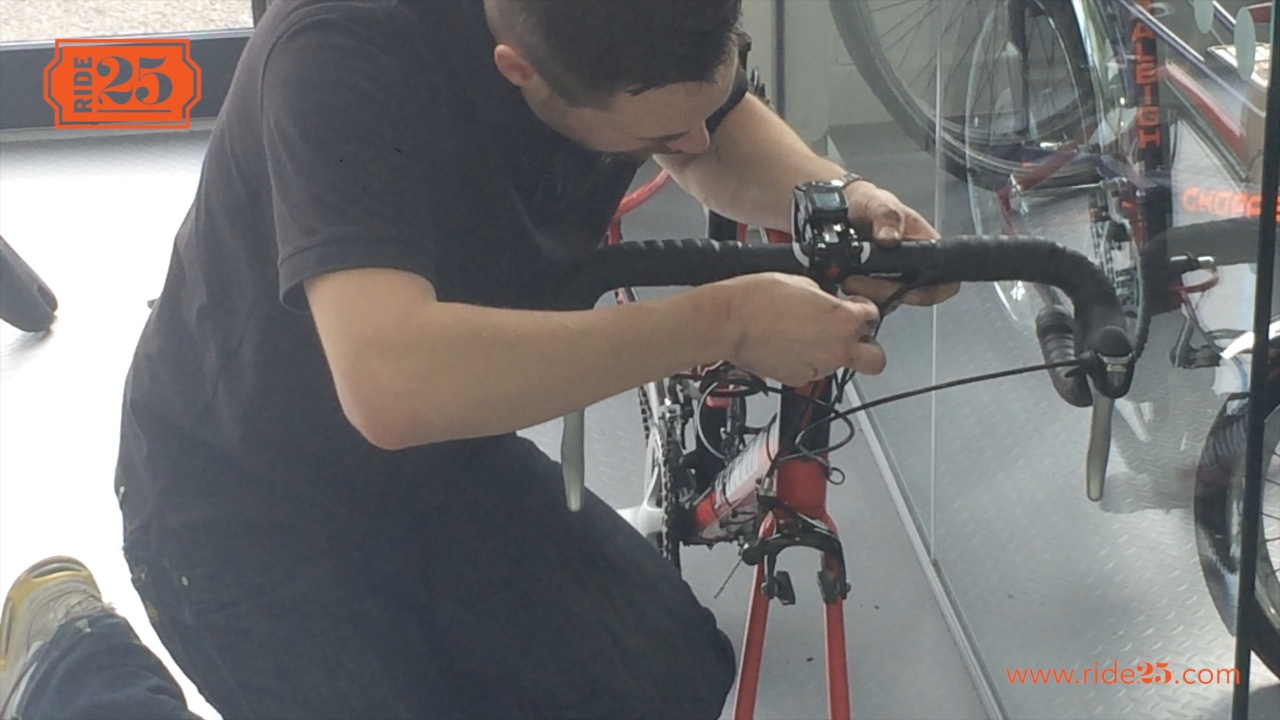
Then place the handlebars in the stem, making sure they line up perfectly in the centre. Tighten the stem bolts using your Allen Key until they are nicely secure.
Refit the seat post, making sure it is at the same point as where you marked it when you removed the seat to pack it. Tighten it with your Allen Key.

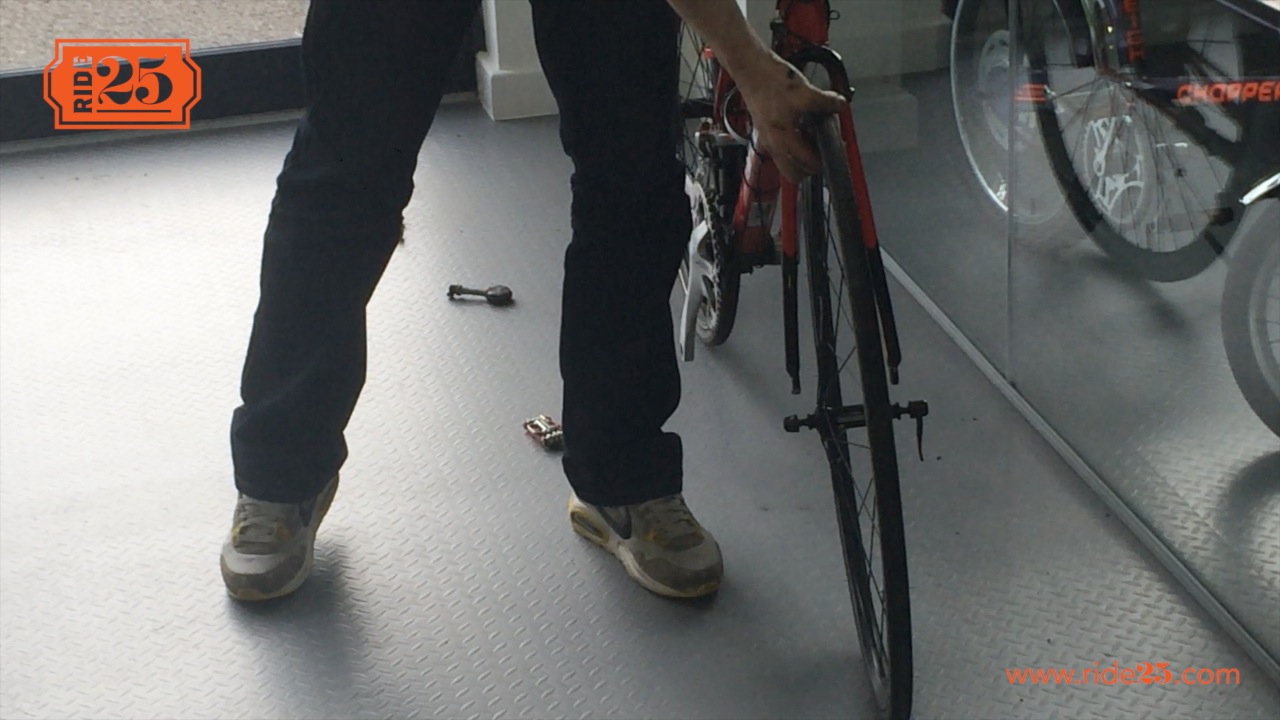
Balance the bike frame up against a wall and take your rear wheel. Place the skewer through the wheel, tighten it very loosely and then fit the wheel on to the bike. Once it is in place, tighten the skewer (making sure it sits in the middle of the wheel).
Next, get your front wheel, place the skewer through the wheel, tighten loosely and fit on to the wheel. Once it is in place, tighten the skewer (making sure it is in the middle of the wheel) and make sure the brake is on tight and in line.

The pedals will be marked so that you will know the correct one to put on each side.
Secure each pedal into place with the Allen Key or spanner – with just enough tension, but not too tight.
Leave a Reply