


The focus of this instalment of our Ride25 training guide is planning a fun and productive set of training rides that will be in line with your goals, and each ride of which will present the right mix of challenging and achievable.
If you read part 1 of the training guide series, well done! That instalment covered starting out effectively by getting a feel for your equipment and abilities.
To recap: my training goals are to ride up the Nufenen Pass without getting out of the saddle, and to overcome the idea that climbing hills is a boring chore and learn to enjoy the challenge. Luckily these complement each other quite well which will prove useful in figuring out when and where to do my training rides.
The plan is to ride a set of incrementally long and hilly rides starting at 50 miles and working up to 120.
So, let’s get going.
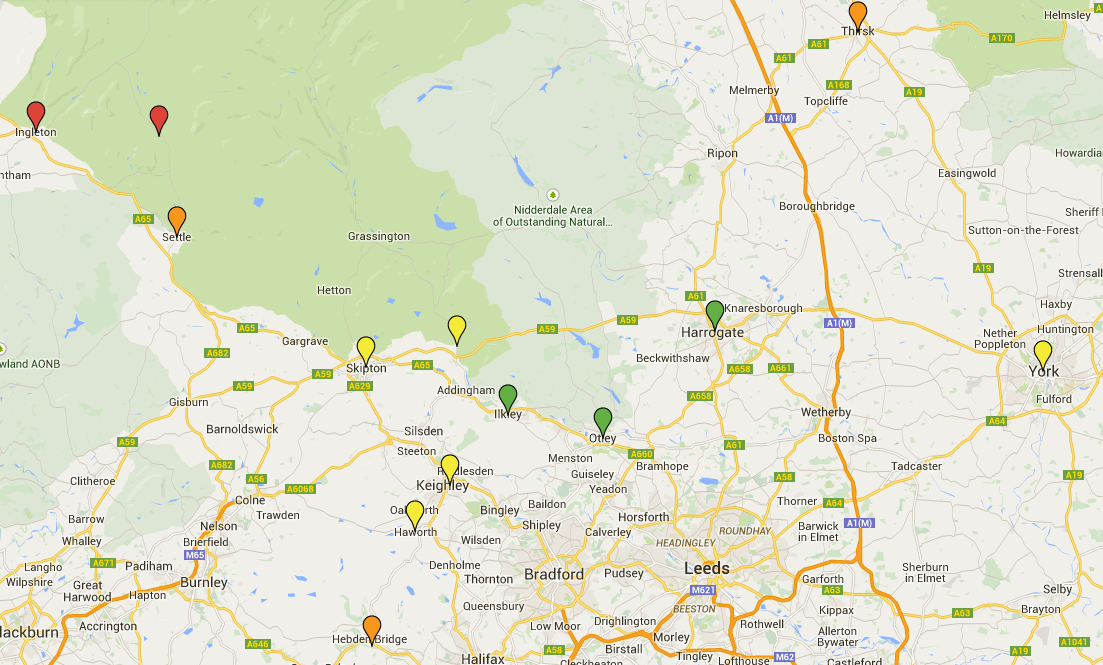
I’ll be using Leeds as my base and giving geographically relevant examples, but the underlying logic is applicable wherever you’re based.
Knowing which towns, train stations, hills, flat bits, bike shops, pubs and cafés are in a 60 or 70 mile radius of your base will be an incredibly useful asset when planning rides, but don’t worry if you don’t have the knowledge yet: this just means it’ll be a fun side-effect of gaining your cycling chops.
My first step was putting together the map below which shows twelve towns between 10 and 60 miles away, meaning round trips of between 20 and 120 miles (deliberately compatible with my goal of doing rides between 50 and 120 miles long). I also have a mental list of towns with bike shops, particularly gnarly hills, and points of interest (Google is a perfect substitute for a mental list if you’re not too familiar with your surroundings yet!).
Depending on how planned you want your ride to be, you can go for the meticulous route uploaded to a handle-bar GPS, or just jump on your bike and cycle half the distance you want to achieve then turn around and head home. For most of us some middle-ground will best suit our needs.
Whichever you choose, we recommend Strava as a mapping too (come join us at the Ride25 Group!): you’ll be able to see elevation profiles and distances, and can have granular control over the size of the roads you use. I usually let Strava show me the default route, then micro-manage it as necessary. This is a lot quicker and easier than planning each turn individually.
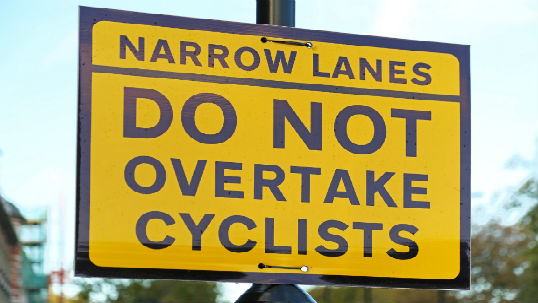
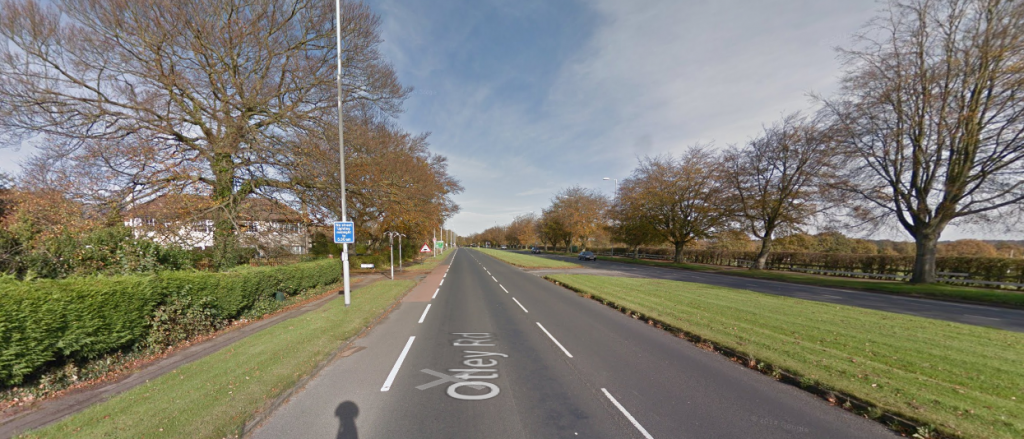
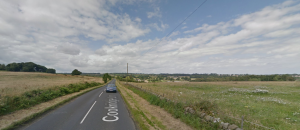
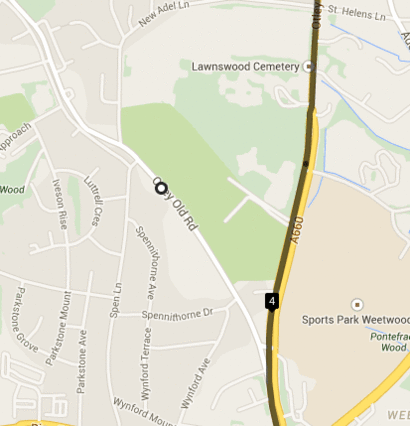
If you’re not familiar with the roads in the area, take a look on Google Street View and gauge how busy you think they’ll be. Avoid anything you’re not comfortable with as being terrified during a training ride won’t do you any favours. I usually avoid busy A-Roads in favour of quieter back roads when planning training rides: not only are these less busy, they’re usually hillier too.
In Strava, just drag and drop bits of the route onto different roads based on your Google Maps findings. The map will update accordingly:
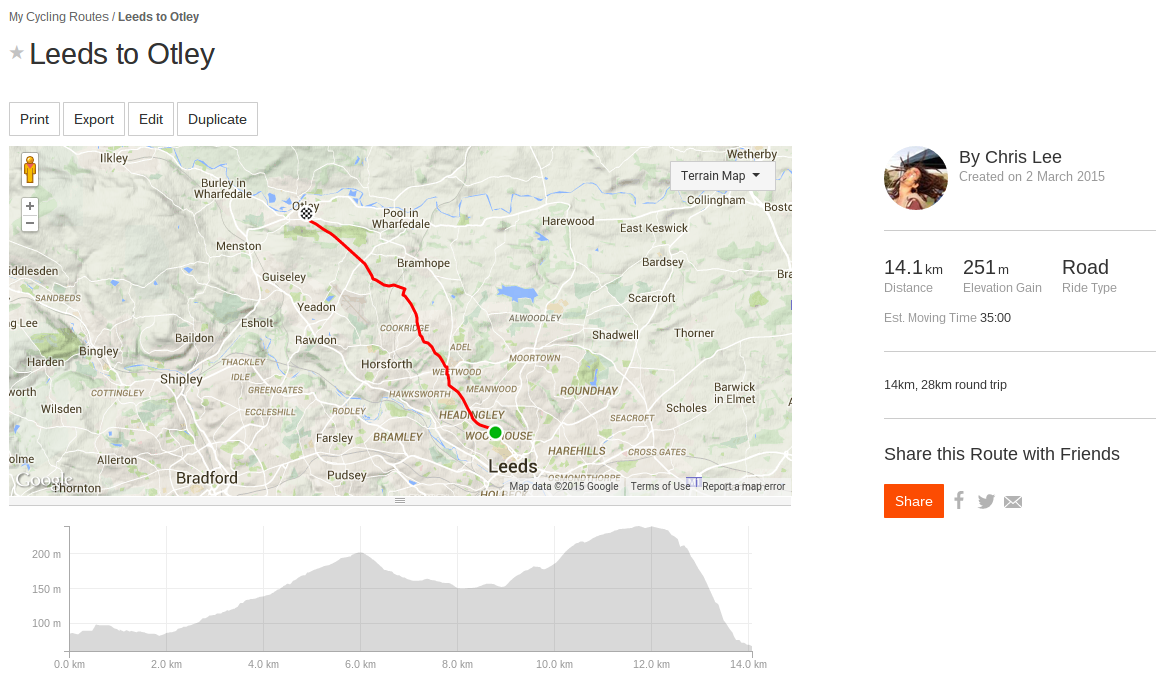
At the bottom of the map creation page you can see a breakdown of distance and total elevation, along with a graph showing elevation profile. This is great for checking your routes suit your goals:

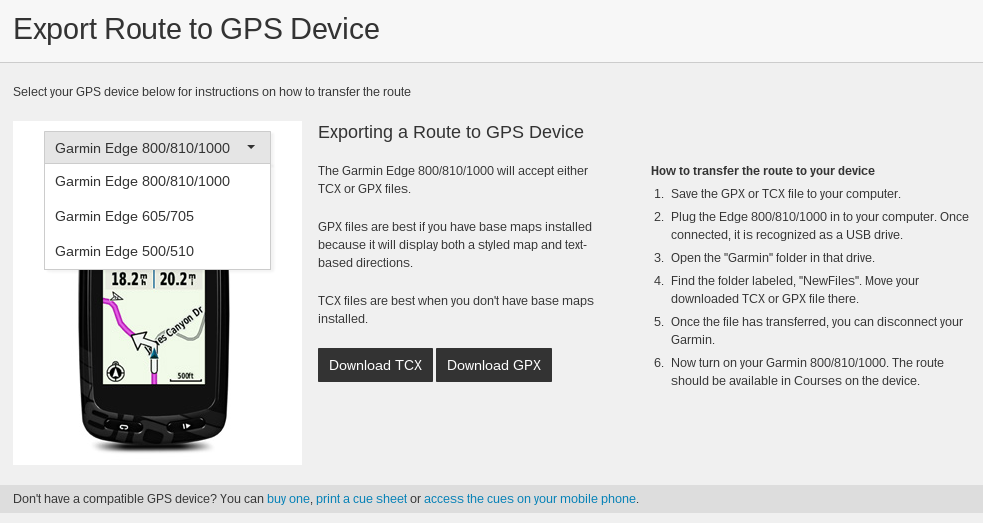
Having a bank of rides available is a great boon to your training as it removes the need to plan a detailed ride each time you want to head out. Strava lets you save your routes and easily export them as TCX or GPX files (compatible with most GPS devices).
You can also use them on any smart phone so you don’t have to have a fancy gadget to use this functionally, just click on you profile within Strava on your mobile and you will see any of the saved routes you have added – very handy. You can then use your smartphone as a GPS sat nav, it will even show you a moving map and where you are on it – just like a Garmin or other such device.
Although, we’d recommend getting a portable battery backup device – as this functionality does use a lot of battery up!
As you become familiar with the geography of the area you’ll be able to lengthen / shorten routes mid-ride if you need to. You’ll also be able to combine routes: if I cycle from Leeds to Otley, then across to Harrogate and back home, it’s 40 miles instead of 20 (Otley and back) or 35 (Harrogate and back).
You can plan all you want but until you get on the saddle and into the outdoors, it won’t count for anything. The most important thing is to have fun with your rides and to not be afraid of adjusting your routes and rides on the go.
That should give you the tools you need to plan your training rides, tailored to the distances and elevations you’re looking for. Next week I’ll run through how to set up a structured and incrementally difficult training program. If you have any questions in the meantime, drop them in the comments below.
Until then, safe riding!
Leave a Reply