


Welcome to part 4 of the training guide. If you missed parts 1-3 you can find them below:
This instalment looks at evaluating rides, checking they’re progressing accordingly to your goals, and ways of troubleshooting any problems you may come across.
Here’s where I’m at so far in my training and an update on how it’s gone so far, to provide some context:

Harrogate and back went smoothly. Ilkley and back was shortened to Otley and back (around 20 miles), as I had other commitments on the day. Note: as these are routes I’m familiar with, I’ve not been using Strava for navigation so they’re not recorded online.
My bike was out of commission for the next ride; I had to replace the whole rear gear mechanism which is never a welcome interruption. Haworth and back has been rejigged to a ride up to Hawes to compensate for the lower-than-planned mileage so far (60 miles instead of the planned 50).
Learnings from this: flexibility is an important part of training. If it becomes a source of stress it can be counter-productive, and my logic is that is long as I’m building up to the point where I can tackle distances / elevations representative of those on the Ride25, the training is successful.
Here are a few observations you may have on your training program, and tips on how to make the changes necessary to prevent them becoming problematic:
The first thing to do is check you’re eating and drinking enough before and during your ride. We’ve written before about bonking (not that kind), and the energy slump caused by the lowered energy levels can catch even the most seasoned cyclist off guard.
Simple carbs such as energy gels (with water), sweets, sugar cubes or similar sugary snacks are the best course of action if you feel a bonk coming on. More complex carbs like flapjacks, energy bars and nuts are good for eating during your ride to keep a steady supply of energy.
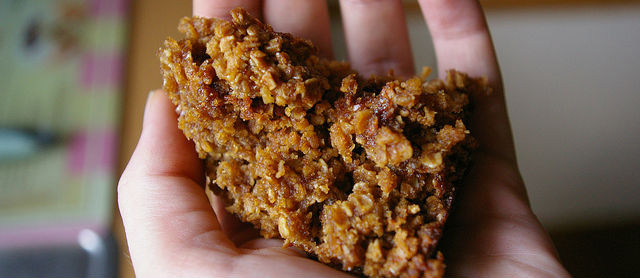
Image by Amelia Wells, used under Creative Commons and linked to source
If you were sufficiently nourished and hydrated but still had trouble completing your ride, perhaps this may be a sign that you should aim for shorter rides and build up more gradually to the point you’re attempting.
Hills are divisive in the cycling community. Some people love them (I knew a guy who’d stop at the bottom of each hill, just so he could tackle it from stationary for “the full challenge”), other people see them as unwanted barriers between their bikes and a pleasant day out. Regardless of where you are on this spectrum, you’ll be hard-pressed to avoid hills forever so you may as well learn how to climb correctly. Our top tips:
If you aren’t already, familiarise yourself with cadence. This is the concept of maintaining the same RPM through your whole bike ride by adjusting the gears accordingly. The idea is to keep the activity your body is doing as consistent as possible .
Road cycling can be daunting and can quickly sap the enjoyment from your rides. If the routes you’ve planned are taking you along roads you find too busy, make a note of where these roads are during the ride and adapt the routes accordingly afterwards.
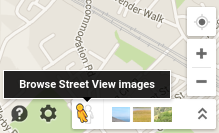
At the planning stage, there are tools you can use to find cycle-friendly roads:

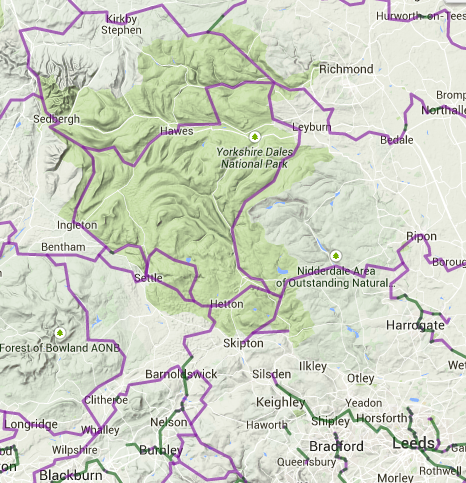
No cycle paths here! Click to expand
Cycling can lead to a selection of maladies: Achilles tendinitis, patellar tendinitis, saddle sores, blisters, and all sorts of anonymous aches and pains. The best way to avoid these is to have your bike set up correctly.
Saddle height can have a huge impact on your cycling technique. Too low and you risk straining your quadriceps and patellar tendon, too high and your foot may not have an opportunity to dorsiflex (i.e. your toes will stay pointing downwards for the whole revolution) which can strain the Achilles tendon.
Saddle sores are caused primarily by friction in the region, which can be exacerbated by wearing the wrong materials (avoid ones that hold onto sweat, like cotton) or allowing sweat to dry (this causes the salt to reform into crystals which can have a similar effect to sandpaper!). Wearing cycling shorts and keeping clean between rides is the best way to avoid this issue. Also remember that as you cycle more often, your tissues will adapt and you’ll be able to ride for longer without getting sore.
In that case, identify where you want to improve most and alter your ride accordingly! If you want to get better at climbing, add more hills. If you want to improve endurance, take a longer ride.
And above all, embrace this feeling! There will have been a time when you found this ride too difficult, so remember to allow yourself a burst of pride for passing that point.
If you’re having any other problems with rides, ask us in the comments below and we’ll do our best to help! In the meantime, enjoy your training and look out for part 5 (the final part!) about other exercises you can be doing alongside your training rides.
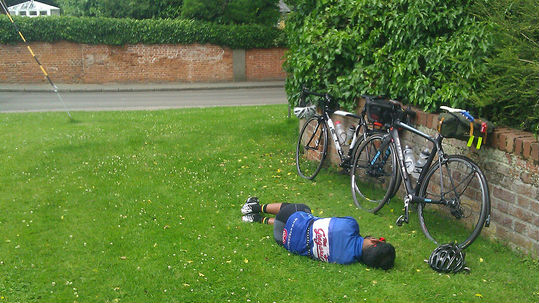
Top image by Phil Gradwell, used under Creative Commons. Source.
Leave a Reply